How to make use of Attack surface reduction (ASR) rules by using PowerShell and JumpCloud
You might have heard about Attack Surface Reduction for Windows before?
But you also might have thought that this is only usable when you're licensing paid products like Windows Defender for Endpoint and therefore didn't pay much attention to it?
ASR is not only available in paid products, but is also part of Windows 10/11 and Windows Server, although?some rules are not supported?on older versions.
The major caveat of the free version is the limitation for management and reporting. You won't find a GUI in the?Settings?app for this and the administration of rules can only be handled via GPO's or PowerShell. This is limited to the activation/deactivation of rules, as well as the optional definition of directories and files that can be excluded.
All these potential drawbacks shall not be a hard stop then as ASR can indeed significantly reduce the attach surface of your Windows-based fleet out there in the wild.
Where to start?
By default, ASR is is disabled on a Windows device.
First, assessing the impact of rules on your environment is recommend as you don't wanna break things and disrupt the productivity of your users. Therefore it's best to start with the Audit Mode and observe the impact.
By running the following PS-command (cmdlet) you will see that no ASR-rules are configured on a device:
Get-MpPreference | select AttackSurfaceReductionRules_Ids, AttackSurfaceReductionRules_Actions
If any rules were configured, the value of AttackSurfaceReductionRules_Actions would indicate the status:
To configure rules, the Set-MpPreference-cmdlet provides constants for Disabled, Enabled, and AuditMode for the parameter AttachSurfaceReductionRules Actions. In addition, the GUID for the AttackSurfaceReductionRules_IDs needs to be provided.
领英推荐
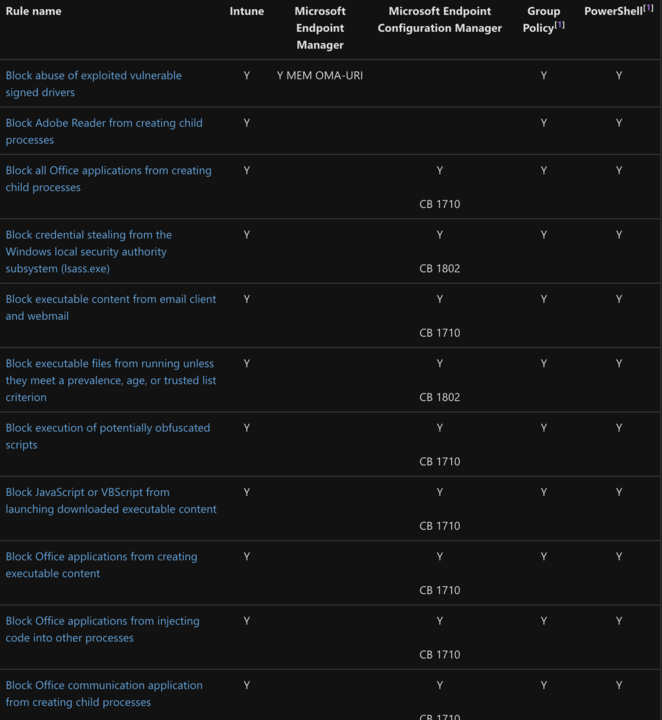
A rule to GUID matrix can be found here.
For example, let's configure to "Block untrusted and unsigned processes that run from USB" in Audit-mode:
Set-MpPreference
-AttackSurfaceReductionRules_Ids b2b3f03d-6a65-4f7b-a9c7-1c7ef74a9ba4 `
-AttackSurfaceReductionRules_Actions Audit`
By running Get-MpPreference again you will get the validation that this rule was enabled in Audit-mode (2):
Get-MpPreference | Select-Object AttackSurfaceReductionRules_Ids, AttackSurfaceReductionRules_Action


AttackSurfaceReductionRules_Ids? ? ? ? AttackSurfaceReductionRules_Actions
-------------------------------? ? ? ? -----------------------------------
{b2b3f03d-6a65-4f7b-a9c7-1c7ef74a9ba4} {2}
Now we've learned that it's fairly simple to enable these rules and you can proceed to compile your list which you deem to be feasible for your environment.
Once done and your auditing process is completed, you can proceed to actually pivot from Audit to either Block or Warn (the latter will present a toast-notification to the end-user, but permits the end-user to bypass the block).
How to deploy ASR-rules via JumpCloud?
By using Commands:
Create a new Command and paste your custom set of rules as PowerShell. A timeout of 120 seconds (default) shall be sufficient to get the rules applied on a device. It's up to you if you want to apply these settings once only, scheduled, repeating or even based on a trigger (webhook). A trigger can also be used via API- or JumpCloud PowerShell-module during the initial onboarding of devices.
Thanks for reading.