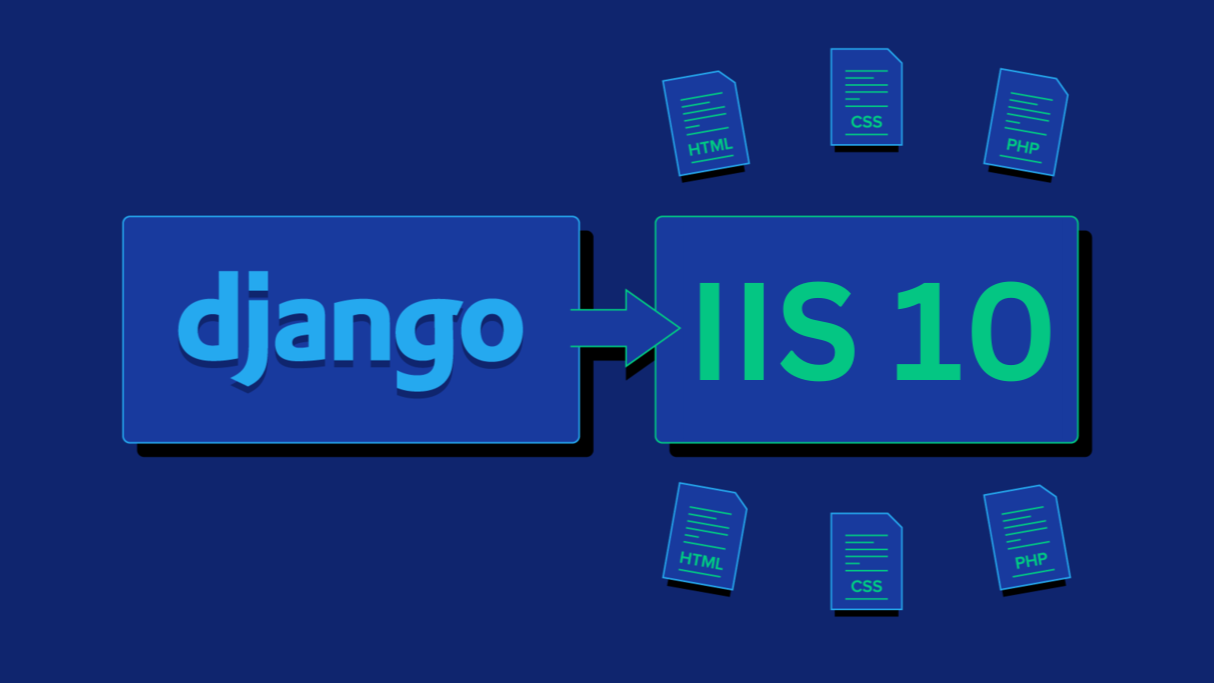
How to Deploy Django on IIS Server Windows 11 in?2024
Abdul Hadi
CKA | 1xAWS | AWS Community Builder | Skilled in Cloud-Native Technologies, DevOps, and Application Development
Python Initialization:
Note: Installing Python directly at C:\ is for ease of access purposes. You can install it at any other location as well.
IIS Server Initialization:
Project Initialization:
C:/inetpub/wwwroot/
pip install wfastcgi
Create an environment in your project and install all the dependencies from requirements.txt
cd C:\inetpub\wwwroot<your project>
python -m venv myenv
.\myenv\Scripts\activate
pip install -r requirements.txt
C:\wfastcgi-enable
领英推荐
Applied configuration changes to section “system.webServer/fastCgi” for “MACHINE/WEBROOT/APPHOST” at configuration commit path “MACHINE/WEBROOT/APPHOST” C:\inetpub\wwwroot\cras\myenv\Scripts\python.exe|C:\inetpub\wwwroot\cras\myenv\Lib\site-packages\wfastcgi.py can now be used as a FastCGI script processor
C:\inetpub\wwwroot\cras\myenv\Scripts\python.exe|
C:\inetpub\wwwroot\cras\myenv\Lib\site-packages\wfastcgi.py
Create a file named web.config at C:/inetpub/wwwroot/<your project> and add the following content to it:
<?xml version="1.0" encoding="utf-8"?>
<configuration>
<system.webServer>
<handlers>
<add name="Python FastCGI" path="*" verb="*" modules="FastCgiModule"
scriptProcessor="C:\inetpub\wwwroot\<your project>\myenv\Scripts\python.exe|C:\inetpub\wwwroot\<your project>\myenv\Lib\site-packages\wfastcgi.py"
resourceType="Unspecified" requireAccess="Script" />
</handlers>
</system.webServer>
<appSettings>
<add key="PYTHONPATH" value="C:\inetpub\wwwroot\<your project>" />
<add key="WSGI_HANDLER" value="<your project>.wsgi.application" />
<add key="DJANGO_SETTINGS_MODULE" value="<your project>.settings" />
</appSettings>
</configuration>
Create a file named web.config at C:/inetpub/wwwroot/<your project>/static and add the following content to it:
<?xml version="1.0" encoding="UTF-8"?>
<configuration>
<system.webServer>
<handlers>
<clear />
<add name="StaticFile" path="*" verb="*" modules="StaticFileModule"
resourceType="File" requireAccess="Read" />
</handlers>
</system.webServer>
</configuration>
Allowing IIS permission to access the?project:
Adding Environmental Variables inside IIS Server:
Adding a virtual directory in the IIS?server:
python manage.py collectstatic
Restart your website and search for localhost on the web?browser.
AI/ML Engineer | Data Science & Python Developer | Transforming Data into Intelligence
5 个月Hello sir I’m experiencing an issue while deploying my Flask application on IIS. The application runs properly on the server itself, but it times out when I try to access it from a local system connected through the intranet. Could you please provide guidance on how to resolve this issue? Thank you!