Exploring the World of Linux Part 4: Setting Up Apache Server on Red Hat Enterprise Linux 9
Saurabh Bhargav
Admin Associate Engineer | Azure AZ-104 & OCI Certified | Git | Jenkins
Introduction:
Setting up an Apache web server is a crucial step in hosting websites. In this guide, we'll walk through creating an Apache server on Red Hat Enterprise Linux 9. Apache is a robust web server serving both static and dynamic content.
Prerequisites:
Step 1: Install Apache using Yum:
Open a terminal and use the yum package manager to install Apache:
Step 2: Start Apache: After installation, start the Apache service:
To ensure Apache starts automatically on boot:
Step 3: Create Web Pages: Navigate to the default web root directory (/var/www/html) and create index.html and contact.html:
I used chatgpt to create the custom html program for my web page, you can do the same. I also created a sub folder to to add a subfolder for webpage and added it as contact.html
Step 4: Configure Firewall: Open the HTTP port (port 80) in the firewall to allow Apache traffic:
firewall-cmd --permanent --add-service=http firewall-cmd --reload
This step ensures that HTTP traffic can pass through the firewall.
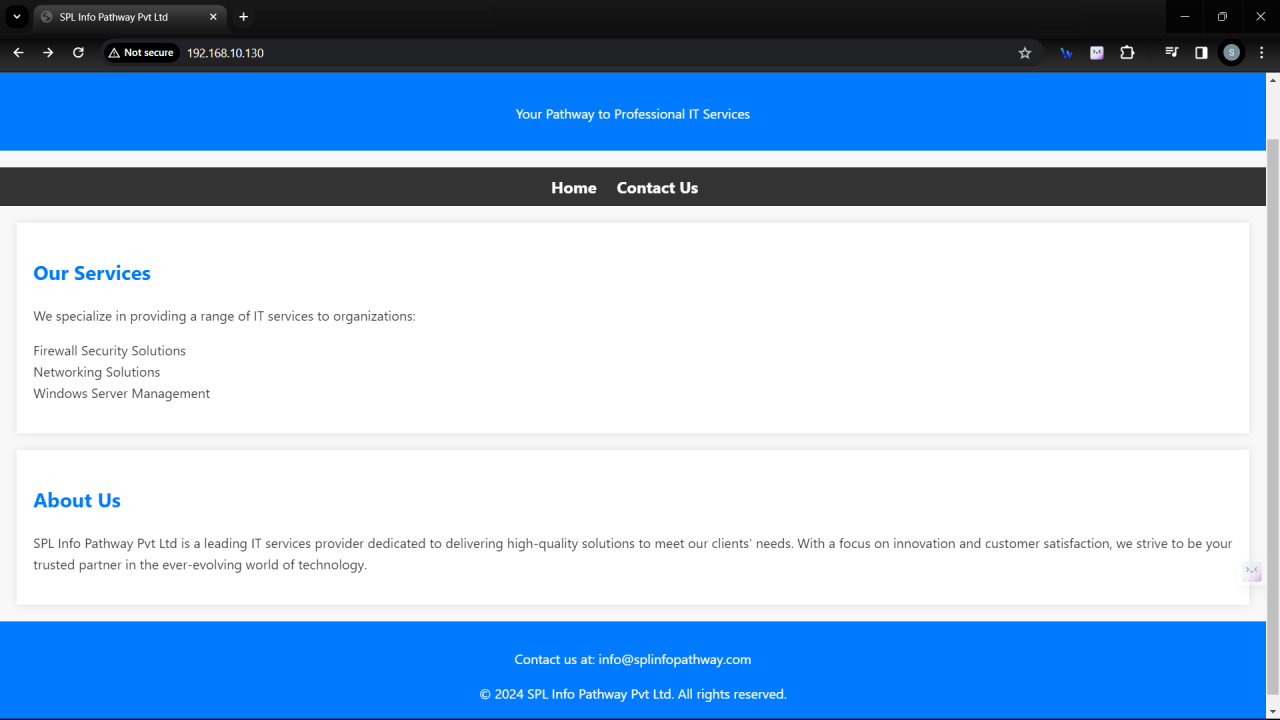
Step 5: Test Your Apache Server: Open your web browser and navigate to your server's IP address or domain name.
You should see the content of your index.html file. Also, check if accessing contact.html works as expected.
Conclusion:
We've successfully set up an Apache server on Red Hat Enterprise Linux 9, added web pages, and configured the firewall to allow HTTP traffic. Customize your web pages, explore Apache configuration settings, and continue enhancing your web server.