Deploying a Django Web Application with Nginx and MySQL on Docker

Deploying a Django Web Application with Nginx and MySQL on Docker

Dockerization is about creating a portable ecosystem for your application. By combining Django, Nginx, and MySQL in a Docker setup, you ensure scalability, consistency, and ease of deployment. This guide will walk you through deploying a Django web application with Nginx, MySQL, and Docker Compose.


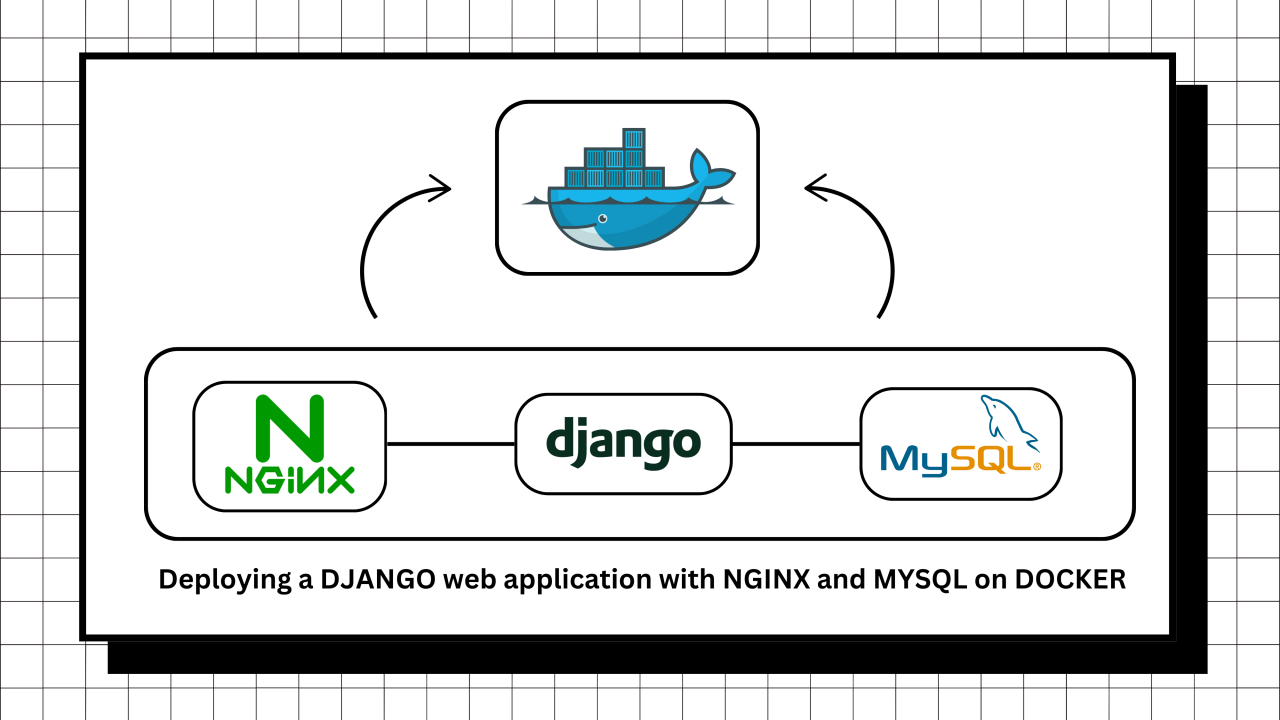
Overview of Our Architecture

Here’s what we’ll be deploying:

  1. Django Backend: Handles application logic and serves data via APIs.
  2. Nginx: Acts as a reverse proxy, improving security and performance.
  3. MySQL Database: Stores application data persistently.
  4. Docker Compose: Orchestrates these components seamlessly.


Step 1: Understanding the Dockerfile

Our Dockerfile creates a Docker image for the Django backend. Let’s break it down step-by-step:

FROM python:3.9        

  • Base Image: The official Python 3.9 image provides a preconfigured environment for Python applications, minimizing setup time.

WORKDIR /app/backend        

  • Working Directory: Sets the working directory inside the container to /app/backend. All subsequent commands will execute relative to this directory.

COPY requirements.txt /app/backend        

  • Copy Requirements: Copies the requirements.txt file from your local system to the container. This file lists all the Python dependencies.

RUN apt-get update \\\\
    && apt-get upgrade -y \\\\
    && apt-get install -y gcc default-libmysqlclient-dev pkg-config \\\\
    && rm -rf /var/lib/apt/lists/*        

  • Install System Dependencies: gcc: A compiler required for building some Python packages. default-libmysqlclient-dev: MySQL development headers for compatibility with mysqlclient. pkg-config: Ensures smooth installation of dependencies. rm -rf /var/lib/apt/lists/*: Cleans up to reduce image size.

RUN pip install mysqlclient
RUN pip install --no-cache-dir -r requirements.txt        

  • Install Python Dependencies: mysqlclient: Enables Django to interact with MySQL. Other dependencies are installed from requirements.txt.

COPY . /app/backend        

  • Copy Application Code: Copies all files from your local backend directory to the container’s working directory.

EXPOSE 8000        

  • Expose Port: Makes port 8000 available for communication with the host machine.

This Dockerfile creates an isolated, dependency-ready environment for running your Django app.


Step 2: Understanding docker-compose.yaml

Docker Compose simplifies multi-container applications. Here’s a detailed breakdown of our docker-compose.yaml:

version: "3.8"        

  • Compose Version: Defines the Compose file format. Version 3.8 ensures compatibility with modern Docker features.

Nginx Service

  nginx:
    build: ./nginx
    image: nginx
    container_name: "nginx_cont"
    ports:
      - "80:80"
    restart: always
    depends_on:
      - django_app
    networks:
      - notes-app-nw        

  • Build: The ./nginx context indicates a separate Dockerfile for Nginx.
  • Image: Specifies the name of the Nginx image.
  • Container Name: Names the container nginx_cont for easier identification.
  • Ports: Maps port 80 on the host to port 80 in the container.
  • Restart Policy: Automatically restarts the container if it fails.
  • Depends On: Ensures the Nginx container starts only after the Django app is up.
  • Network: Connects Nginx to the notes-app-nw network.

Django App Service

  django_app:
    build:
      context: .
    image: django_app
    container_name: "django_cont"
    ports:
      - "8000:8000"
    command: sh -c "python manage.py migrate --noinput && gunicorn notesapp.wsgi --bind 0.0.0.0:8000"
    env_file:
      - ".env"
    depends_on:
      - db
    restart: always
    healthcheck:
      test: ["CMD-SHELL", "curl -f <https://localhost:8000/admin> || exit 1"]
      interval: 10s
      timeout: 5s
      retries: 5
      start_period: 30s
    networks:
      - notes-app-nw        

  • Build Context: Uses the root directory for building the Django app image.
  • Command: Runs migrations and starts the application using Gunicorn for production.
  • Environment Variables: Loaded from the .env file for sensitive data like database credentials.
  • Healthcheck: Periodically checks if the Django admin page is accessible.
  • Network: Connects to the notes-app-nw network.

Database Service

  db:
    image: mysql
    container_name: "db_cont"
    environment:
      - MYSQL_ROOT_PASSWORD=root
      - MYSQL_DATABASE=test_db
    volumes:
      - ./data/mysql/db:/var/lib/mysql
    healthcheck:
      test: ["CMD", "mysqladmin", "ping", "-h", "localhost", "-uroot", "-proot"]
      interval: 10s
      timeout: 5s
      retries: 5
      start_period: 60s
    networks:
      - notes-app-nw        

  • Image: Uses the official MySQL image.
  • Environment Variables: MYSQL_ROOT_PASSWORD: Sets the root password. MYSQL_DATABASE: Creates a database named test_db.
  • Volumes: Maps a local directory for persistent storage of database files.
  • Healthcheck: Verifies MySQL is responsive using mysqladmin ping.
  • Network: Connects to the notes-app-nw network.

Network Configuration

networks:
  notes-app-nw:        

  • Custom Network: Ensures all services communicate securely and efficiently.


Step 3: Deployment Steps

  1. Clone the Repository:
  2. Build and Start Services:
  3. Access the Application: Navigate to https://localhost in your browser.


Step 4: Common Pitfalls and Fixes

  • Database Connection Issues: Ensure the .env file contains accurate credentials for MySQL.
  • Container Restarts: Check logs with docker logs <container_name> for insights.
  • Gunicorn Performance: Adjust worker processes and threads in production.


GitHub Repository

Access the full source code here.


Conclusion

Creadits to Shubham Londhe's Tutorial

Deploying a Django web application with Nginx and MySQL on Docker doesn’t have to be daunting. With a well-structured approach, you can build a scalable, production-ready stack in no time. If this guide helped you, let me know in the comments or share your deployment success story. Together, let’s build something incredible!

FOLLOW KIYA KYA !!!!!!

要查看或添加评论,请登录

社区洞察

其他会员也浏览了