Day 19 - Deploying a Two-Tier Flask App with MySQL Using Docker: A Step-by-Step Guide
Muhammad Shaheryar
AWS Certified Solution Architect | DevOps Engineer | Cloud Architect | Docker | Jenkins | Python | Terraform | Building Scalable Infrastructure & Automated Workflows
Introduction
The software development lifecycle has been completely transformed by DevOps approaches, which prioritize automation and teamwork. This article will cover using Docker to install a two-tier Flask application with a MySQL database. Docker volumes and Docker networks which provide data durability and effective communication between containers are the main ideas discussed in this project.
Prerequisites
Before diving into the tutorial, make sure you have Docker installed on your machine. You can download Docker from here.
Step 1: Clone the Repository
Begin by cloning the project repository from GitHub:
git clone https://github.com/Sheheriyar99/two-tier-flask-app.git
cd two-tier-flask-app
Step 2: Build the Flask App Image
Navigate to the Flask app directory and build the Docker image using the provided Dockerfile:
docker build -t flask-app .
Step 3: Create Docker Network
Create a Docker network to facilitate communication between the Flask app and MySQL containers:
docker network create -d bridge two-tier-app-nw
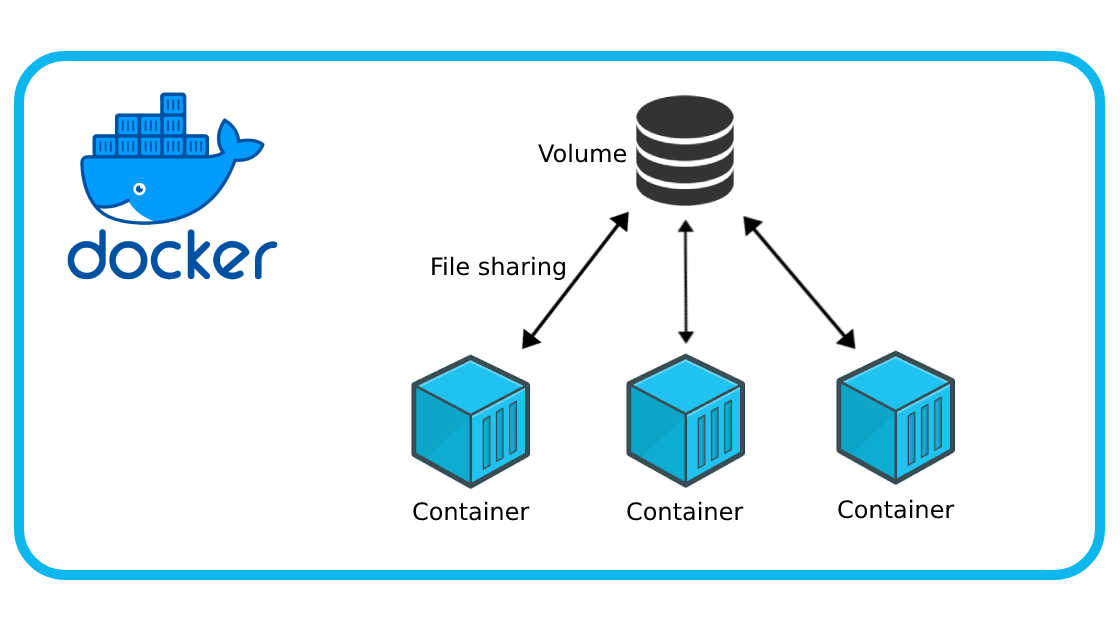
Step 4: Create Docker Volume
Create a Docker volume to ensure persistent storage for the MySQL database:
docker volume create --name two-tier-app-volume --opt type=none --opt device=/home/ubuntu/volumes/two-tier-app --opt o=bind
Step 5: Run MySQL Container
Start the MySQL container with the following command:
docker run -d -p 3306:3306 -v two-tier-app-volume:/var/lib/mysql/ -e MYSQL_ROOT_PASSWORD=test@123 -e MYSQL_DATABASE=testdb -e MYSQL_USER=admin -e MYSQL_PASSWORD=admin --network=two-tier-app-nw --name mysql mysql:latest
Step 6: Run Flask App Container
Run the Flask app container, ensuring it connects to the created network:
docker run -d -p 5000:5000 -e MYSQL_HOST=mysql -e MYSQL_USER=admin -e MYSQL_PASSWORD=admin -e MYSQL_DB=testdb --network=two-tier-app-nw --name flask-app flask-app:latest
Step 7: Access MySQL Container
Access the MySQL container to create a table inside the testdb database:
docker exec -it CONTAINER_ID bash
Inside the container, run the following MySQL query to create a table:
领英推荐
CREATE TABLE messages (
    id INT AUTO_INCREMENT PRIMARY KEY,
    message TEXT
);
Exit the container.
Step 8: Add Data to Flask App
With the Flask app running, access it through your browser and add some data.
Step 9: Restart MySQL Container
Stop and remove the MySQL container:
docker stop mysql
docker rm mysql
Then, restart the MySQL container to demonstrate data persistence:
docker run -d -p 3306:3306 -v two-tier-app-volume:/var/lib/mysql/ -e MYSQL_ROOT_PASSWORD=test@123 -e MYSQL_DATABASE=testdb -e MYSQL_USER=admin -e MYSQL_PASSWORD=admin --network=two-tier-app-nw --name mysql mysql:latest
Simplify Deployment with Docker Compose
So far, we've meticulously followed the step-by-step process for deploying our two-tier Flask app using individual Docker commands. Now, let's take it a step further and streamline the entire deployment process with Docker Compose.
Docker Compose Configuration
Create a docker-compose.yml file in your project directory with the following content:
version: '3'
services:
  mysql:
    image: mysql:latest
    container_name: mysql
    ports:
      - "3306:3306"
    volumes:
      - two-tier-app-volume:/var/lib/mysql/
    environment:
      MYSQL_ROOT_PASSWORD: test@123
      MYSQL_DATABASE: testdb
      MYSQL_USER: admin
      MYSQL_PASSWORD: admin
    networks:
      - two-tier-app-nw

  flask-app:
    image: flask-app:latest
    container_name: flask-app
    ports:
      - "5000:5000"
    environment:
      MYSQL_HOST: mysql
      MYSQL_USER: admin
      MYSQL_PASSWORD: admin
      MYSQL_DB: testdb
    networks:
      - two-tier-app-nw

volumes:
  two-tier-app-volume:
    external: true

networks:
  two-tier-app-nw:
    driver: bridge
Deploy with Docker Compose
With the docker-compose.yml file in place, deploying the entire stack becomes a breeze. Run the following command:
Copy
Copy
docker-compose up -d
Docker Compose will orchestrate the deployment of both the MySQL and Flask app containers, ensuring seamless communication between them. This single command replaces the manual execution of each Docker command we used earlier.
Additional Commands
To stop and remove the containers created by Docker Compose, use:
docker-compose down
This concludes our journey in deploying a two-tier Flask app using both individual Docker commands and the efficiency of Docker Compose. Choose the approach that best suits your needs and workflow.
Conclusion
In this tutorial, we embarked on a journey to deploy a two-tier Flask app with a MySQL database using Docker. We covered essential DevOps practices such as Docker volumes and networks, ensuring seamless container orchestration and data persistence. By following the step-by-step guide, you have learned how to set up Docker containers for both the Flask app and MySQL database, as well as how to streamline the deployment process using Docker Compose. Armed with this knowledge, you are now equipped to efficiently deploy and manage containerized applications in your development environment. Keep exploring and extending this project to further enhance your skills in DevOps and Docker.