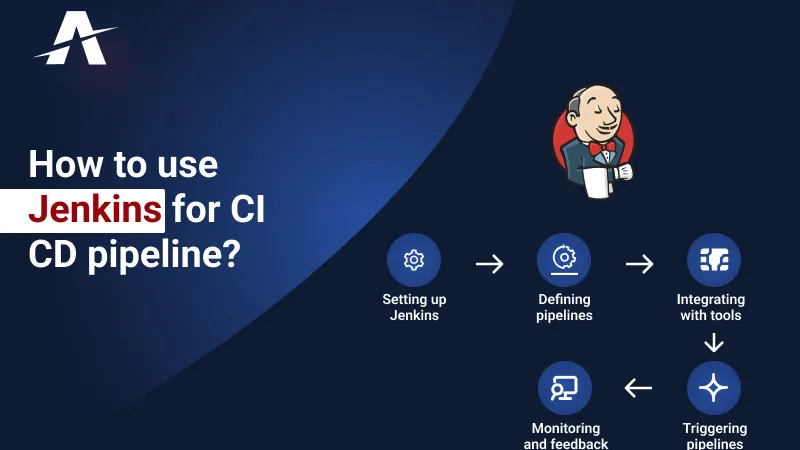
CI/CD Pipeline with Jenkins: Automating Deployments for Full Stack Projects
Rizwana K.
Experienced Software Engineer | Designing scalable backend systems | Developing RESTful web services | SDLC, Agile | Java/J2EE, Springboot, Microservices | API Development | UI with Angular | Database Management |
In modern software development, the Continuous Integration/Continuous Deployment (CI/CD) pipeline plays a critical role in automating the build, testing, and deployment processes. Jenkins, a powerful open-source automation server, is widely used to implement CI/CD pipelines for full stack projects. It helps streamline the workflow by enabling frequent, reliable software releases.
In this article, we’ll explore how to set up a CI/CD pipeline using Jenkins, focusing on automating deployments for full stack applications.
What is CI/CD?
CI/CD pipelines automate the repetitive tasks of testing and deploying code, reducing the risk of human errors and allowing faster delivery.
Why Jenkins for CI/CD?
Jenkins is one of the most popular tools for building CI/CD pipelines due to its flexibility, extensibility, and active plugin ecosystem. With Jenkins, you can:
Step-by-Step Guide to Creating a CI/CD Pipeline with Jenkins
Step 1: Install Jenkins
You can install Jenkins on different platforms, including Windows, Linux, and macOS. For Linux, the installation process is straightforward:
Update your package manager:
sudo apt update
Install Java (Jenkins requires Java to run):
sudo apt install openjdk-11-jre
Add the Jenkins repository and install it:
wget -q -O - https://pkg.jenkins.io/debian/jenkins.io.key | sudo apt-key add -
sudo sh -c 'echo deb https://pkg.jenkins.io/debian-stable binary/ > /etc/apt/sources.list.d/jenkins.list'
sudo apt update
sudo apt install jenkins
Start Jenkins:
sudo systemctl start jenkins
Access Jenkins at https://localhost:8080 in your browser.
Step 2: Configure Jenkins
Once Jenkins is installed, you'll need to perform some initial configurations:
Step 3: Integrate Jenkins with Version Control
For a full stack project, you’ll likely be using Git or another version control system. Jenkins can automatically trigger builds when there are changes to the codebase.
Step 4: Set Up the Build Process
For full stack projects, the build process typically involves compiling backend code, packaging the application, and building frontend assets.
Example build step for a Node.js backend:
npm install
npm run build
Example build step for an Angular frontend:
cd frontend
npm install
ng build --prod
Step 5: Implement Unit Tests
Unit tests are crucial to ensuring code quality. You can configure Jenkins to run unit tests for both the frontend and backend.
Example for running tests:
npm test
Example for running frontend tests:
ng test --watch=false
You can configure Jenkins to fail the build if tests fail, ensuring only high-quality code is deployed.
Step 6: Deploying the Application
Once the build and tests are successful, the next step is deployment. Jenkins can automate deployment to different environments (e.g., staging, production).
Deploying to a Server (via SSH)
Deploying to a Cloud Platform (e.g., AWS, Azure)
Docker Deployment
Example deployment step for Docker:
docker build -t my-app .
docker push my-app
领英推荐
Step 7: Pipeline as Code (Jenkinsfile)
A Jenkinsfile allows you to define your CI/CD pipeline as code, providing version control and easier management.
Here’s an example of a Jenkinsfile for a full stack application:
pipeline {
??? agent any
??? stages {
??????? stage('Checkout Code') {
??????????? steps {
??????????????? git 'https://github.com/your-repo/fullstack-app.git'
??????????? }
??????? }
??????? stage('Install Dependencies') {
??????????? steps {
??????????????? script {
??????????????????? dir('backend') {
?????????? ?????????????sh 'npm install'
??????????????????? }
??????????????????? dir('frontend') {
??????????????????????? sh 'npm install'
??????????????????? }
??????????????? }
??????????? }
??????? }
??????? stage('Build') {
??????????? steps {
??????????????? script {
??????????????????? dir('backend') {
??????????????????????? sh 'npm run build'
??????????????????? }
??????????????????? dir('frontend') {
??????????????????????? sh 'ng build --prod'
??????????????????? }
??????????????? }
??????????? }
??????? }
??????? stage('Run Tests') {
??????????? steps {
??????????????? script {
??????????????????? dir('backend') {
??????????????????????? sh 'npm test'
??????????????????? }
??????????????????? dir('frontend') {
??????????????????????? sh 'ng test --watch=false'
??????????????????? }
??????????????? }
??????????? }
??????? }
??????? stage('Deploy') {
??????????? steps {
??????????????? sh 'docker build -t my-app .'
??????????????? sh 'docker push my-app'
??????????????? // Add deployment steps here
???????? ???}
??????? }
??? }
}
Step 8: Monitoring and Notifications
After configuring your pipeline, it's crucial to monitor the process and receive alerts for build failures.
Conclusion
Setting up a CI/CD pipeline with Jenkins automates the workflow for full stack projects, ensuring faster, reliable, and consistent deployments. With automated builds, tests, and deployments, you can focus more on developing features and less on managing the release process. By using tools like Jenkins, developers can easily maintain high-quality code and shorten the feedback loop, ultimately accelerating the development lifecycle.