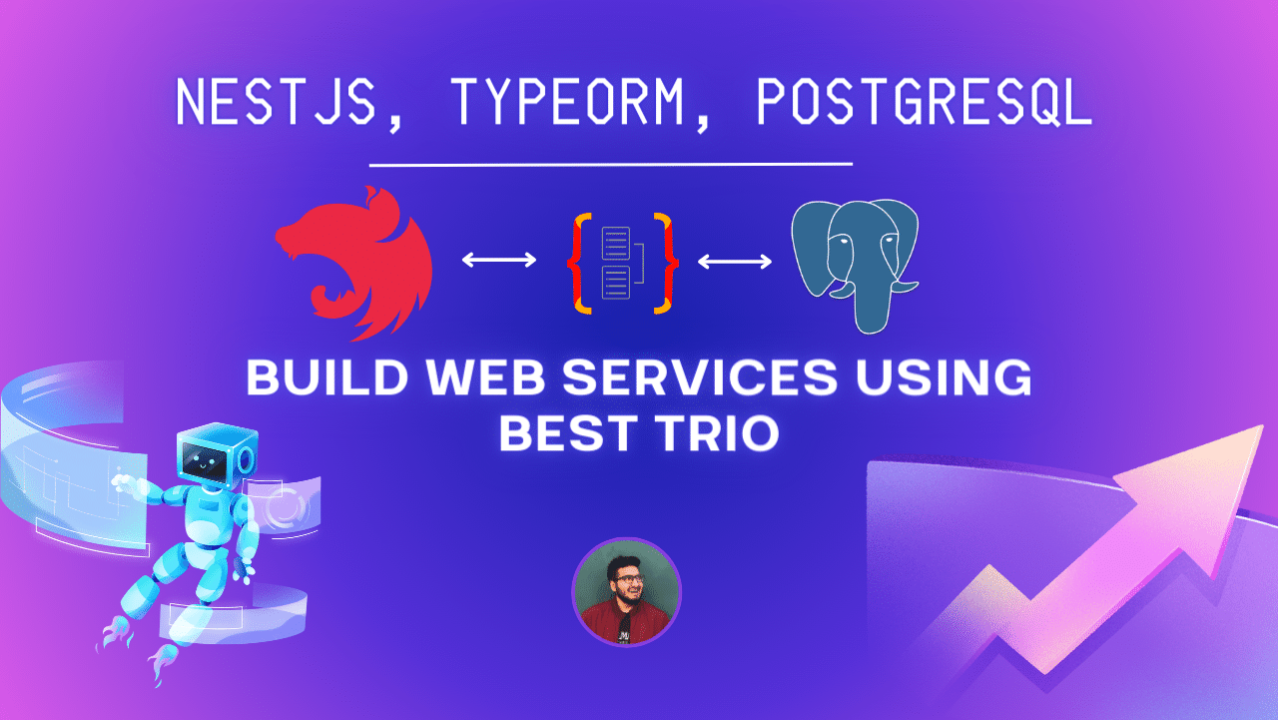
Building Web Services with NestJS, TypeORM, and PostgreSQL
Asim Hafeez
Senior Software Engineer | AI | LLMs | Databases | Docker | Nest.js | System Design | Blockchain | AWS
The combination of NestJS, TypeORM, and PostgreSQL provides a scalable, and efficient stack for developing web services. This article gives a general outline of constructing a basic, yet operational web service using these tools. We will look into the fundamentals of each element, and their collaboration, and guide you through a straightforward example to kickstart your project.
Introduction to the Stack
NestJS
I personally love the NestJS architecture.
NestJS is a Node.js framework for building efficient and scalable server-side applications. It is built with and fully supports TypeScript and combines elements of OOP (Object Oriented Programming), FP (Functional Programming), and FRP (Functional Reactive Programming).
TypeORM
TypeORM is an ORM (Object-Relational Mapping) library that can run in Node.js and can be used with TypeScript and JavaScript (ES5+). It supports the Active Record and Data Mapper patterns, unlike all other JavaScript ORMs currently in existence, which means you can write high-quality, loosely coupled, scalable, maintainable applications most efficiently.
PostgreSQL
PostgreSQL is a powerful, open-source object-relational database system that uses and extends the SQL language combined with many features that safely store and scale the most complicated data workloads.
Setting Up the Project
First, ensure you have Node.js, npm (or Yarn), and PostgreSQL installed on your machine.
1. Create a new NestJS project:
npm i -g @nestjs/cli nest new project-name
Navigate into your project directory before proceeding.
2. Install TypeORM and PostgreSQL:
npm install --save @nestjs/typeorm typeorm pg
3. Database Connection
Edit or create an ormconfig.json file in the root of your project to configure TypeORM with PostgreSQL:
{
  "type": "postgres",
  "host": "localhost",
  "port": 5432,
  "username": "your_username",
  "password": "your_password",
  "database": "your_database",
  "entities": ["dist/**/*.entity{.ts,.js}"],
  "synchronize": true
}
4. Integrate Config into Nestjs
To add the ormconfig.json into the main root module, which is mostly named as app.module.ts :
import { Module } from '@nestjs/common';
import { TypeOrmModule } from '@nestjs/typeorm';
import { TasksModule } from './tasks/tasks.module';

@Module({
  imports: [
    TasksModule,
    TypeOrmModule.forRoot(), // This will automatically use ormconfig.json
  ],
})
export class AppModule {}
Since you have an ormconfig.json file, TypeORM can automatically load the connection options from this file. However, to explicitly tell NestJS to use it, you can import the configuration and pass it to the forRoot() method.
Building a Simple Web Service
Let’s create a simple CRUD (Create, Read, Update, Delete) application that manages a list of tasks.
Define the Task Entity
First, define a Task entity that TypeORM will use to create the tasks table in your PostgreSQL database.
领英推荐
Create a Task Entity
Inside the src folder, create a new folder named tasks. Inside tasks, create a file named task.entity.ts:
import { Entity, PrimaryGeneratedColumn, Column } from 'typeorm';

@Entity()
export class Task {
  @PrimaryGeneratedColumn()
  id: number;

  @Column()
  title: string;

  @Column()
  description: string;
}
Create a Task Module
NestJS is modular, so you’ll organize your code into modules. For the tasks, you’ll create a task module, service, and controller.
Generate Task Module, Service, and Controller: Run the following commands in your terminal:
nest generate module tasks
nest generate service tasks
nest generate controller tasks
This will scaffold the necessary files and update the module imports automatically.
Implementing CRUD Operations
1. Update the Task Service:
Open the tasks.service.ts file and import the InjectRepository decorator from @nestjs/typeorm and the Repository from typeorm. Also, import the Task the entity you just created. Then, implement the CRUD operations:
import { Injectable } from '@nestjs/common';
import { InjectRepository } from '@nestjs/typeorm';
import { Repository } from 'typeorm';
import { Task } from './task.entity';

@Injectable()
export class TasksService {
  constructor(
    @InjectRepository(Task)
    private tasksRepository: Repository<Task>,
  ) {}
  async findAll(): Promise<Task[]> {
    return this.tasksRepository.find();
  }
  async findOne(id: string): Promise<Task> {
    return this.tasksRepository.findOne(id);
  }
  async create(task: Task): Promise<Task> {
    return this.tasksRepository.save(task);
  }
  async update(id: string, task: Partial<Task>): Promise<Task> {
    await this.tasksRepository.update(id, task);
    return this.tasksRepository.findOne(id);
  }
  async remove(id: string): Promise<void> {
    await this.tasksRepository.delete(id);
  }
}
2. Update the Task Controller:
In the tasks.controller.ts file, inject the TasksService and create endpoints to perform CRUD operations:
import { Controller, Get, Post, Put, Delete, Body, Param } from '@nestjs/common';
import { TasksService } from './tasks.service';
import { Task } from './task.entity';

@Controller('tasks')
export class TasksController {
  constructor(private tasksService: TasksService) {}

  @Get()
  getAll(): Promise<Task[]> {
    return this.tasksService.findAll();
  }

  @Get(':id')
  getOne(@Param('id') id: string): Promise<Task> {
    return this.tasksService.findOne(id);
  }

  @Post()
  create(@Body() task: Task): Promise<Task> {
    return this.tasksService.create(task);
  }

  @Put(':id')
  update(@Param('id') id: string, @Body() task: Task): Promise<Task> {
    return this.tasksService.update(id, task);
  }

  @Delete(':id')
  remove(@Param('id') id: string): Promise<void> {
    return this.tasksService.remove(id);
  }
}
Ensure your TasksModule imports the TypeOrmModule.forFeature([Task]) to register the Task entity with our module:
import { Module } from '@nestjs/common';
import { TypeOrmModule } from '@nestjs/typeorm';
import { TasksService } from './tasks.service';
import { TasksController } from './tasks.controller';
import { Task } from './task.entity';

@Module({
  imports: [TypeOrmModule.forFeature([Task])],
  providers: [TasksService],
  controllers: [TasksController],
})
export class TasksModule {}
Running the Application
Before running the application, ensure your PostgreSQL database is running and accessible with the credentials you specified in ormconfig.json.
npm run start
2. Testing Endpoints: Use a tool like Postman or cURL to test your endpoints. You should be able to create, retrieve, update, and delete tasks through your API.
Congratulations ??, you have done it!??
Conclusion
You’ve just built a simple web service using NestJS, TypeORM, and PostgreSQL. The combination of NestJS’s architecture, TypeORM’s ORM capabilities, and PostgreSQL’s reliability makes for a powerful trio in web development. As you become more familiar with these tools, you’ll be able to build more complex and feature-rich applications.
If you found this article helpful, don't forget to give it a clap ?? and share it with your colleagues!
Happy Coding ????????
Software Engineer
4 个月Thanks for sharing, Asim Hafeez What about the migrations?