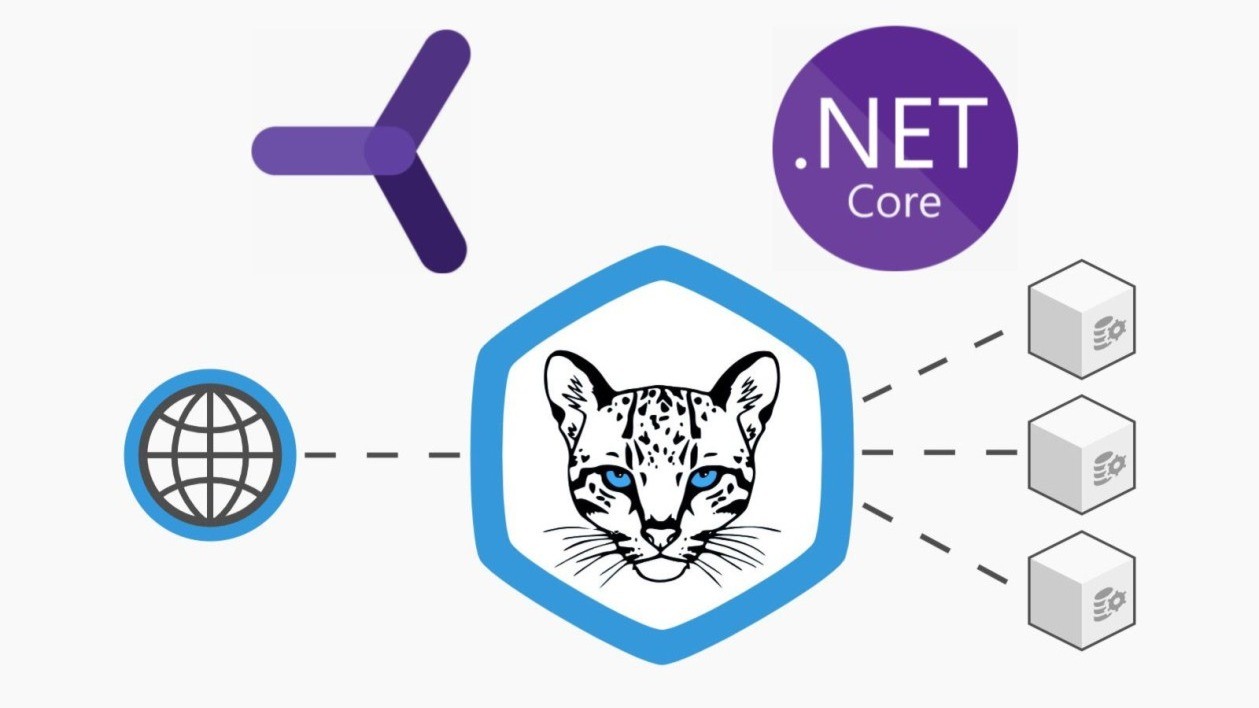
Building a Scalable API Gateway in .NET with Ocelot
Luis Gabriel Ahumada
Full Stack Developer | C#| .Net | API | SQL | Azure | Entity Framework | React | Vue | Angular | Razor | CI/CD Pipelines| Docker | Git | Swagger | Agile Methodologies
Introduction
In modern software architectures, especially with microservices, managing API traffic efficiently is crucial. An API Gateway acts as the single entry point for client requests, routing them to appropriate backend services while handling authentication, logging, rate limiting, and more. In this article, we explore how to build an API Gateway in .NET using Ocelot, a lightweight and powerful API Gateway library.
Why Use an API Gateway?
API Gateways are essential for:
Setting Up the API Gateway in .NET
1?? Install Dependencies
Create a new .NET Web API project and install Ocelot:
2?? Configure ocelot.json
Define routes to your backend services:
3?? Configure Services in Startup.cs
Modify ConfigureServices() to support authentication and Ocelot:
4?? Configure the Middleware in Startup.cs
Ensure correct middleware order in Configure():
Testing the API Gateway
Run your API Gateway:
Then test your routes:
If everything is set up correctly, the API Gateway will route requests to your backend services.
Deployment to Production
In production, update ocelot.json with real service URLs. Deploy using Azure App Service or Docker:
Conclusion
Building an API Gateway in .NET using Ocelot provides a scalable, secure, and efficient way to manage API traffic. It enables centralized authentication, logging, and service routing. By leveraging JWT authentication and deploying with Docker or Azure, you ensure your system is ready for production.
?? Have you used API Gateways in .NET? Let’s discuss your experience in the comments!