Automated Data Augmentation: A Step-by-Step Guide for Beginners
Automated Data Augmentation: A Step-by-Step Guide for Beginners
Data augmentation is a critical technique in machine learning, especially when working with images. It helps improve the performance of models by increasing the diversity of the training dataset. If you're just starting out, don’t worry! This post will guide you through the process of automated data augmentation step by step. By the end, you’ll understand the purpose of augmentation, the tools you can use, and how to implement it effectively.
What is Data Augmentation?
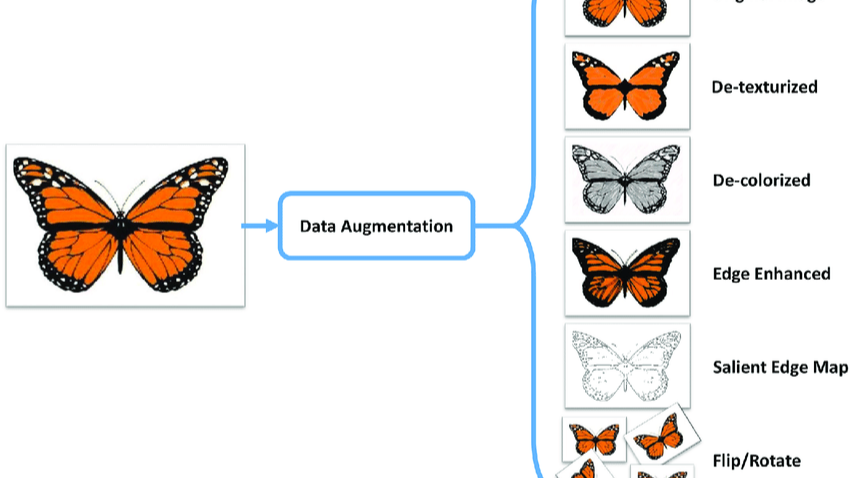
Data augmentation is the process of artificially expanding a dataset by applying various transformations to the existing data. In the context of images, these transformations include flipping, cropping, rotating, changing brightness, and many more.
For example:
By augmenting data, you:
Step-by-Step Guide to Automated Data Augmentation
Step 1: Set Up Your Environment
First, ensure you have the required tools and libraries. For Python-based augmentation, the most commonly used libraries include:
Install the required libraries:
pip install tensorflow matplotlib
Step 2: Understand Basic Augmentation Techniques
Here are some commonly used image augmentation techniques:
Step 3: Automate the Augmentation Process
Manually applying transformations to every image in a dataset isn’t practical. Instead, automate the process.
领英推荐
Here’s a simple pipeline for automated augmentation:
Step 4: Advanced Augmentation Techniques
For more complex transformations, libraries like Albumentations offer advanced features such as:
Example using Albumentations:
from albumentations import Compose, RandomCrop, HorizontalFlip, RandomBrightnessContrast
from albumentations.tensorflow import ToTensorV2

transform = Compose([
    RandomCrop(200, 200),
    HorizontalFlip(p=0.5),
    RandomBrightnessContrast(p=0.2),
    ToTensorV2()
])

augmented = transform(image=image.numpy())
Step 5: Integrate Augmentation with Model Training
Augmentation is most effective when applied during model training. TensorFlow’s ImageDataGenerator or tf.data pipelines make this straightforward.
Example using ImageDataGenerator:
from tensorflow.keras.preprocessing.image import ImageDataGenerator

data_gen = ImageDataGenerator(
    horizontal_flip=True,
    rotation_range=20,
    brightness_range=[0.8, 1.2]
)

train_gen = data_gen.flow_from_directory('data/train', target_size=(224, 224), batch_size=32)
Best Practices for Data Augmentation
Conclusion
Data augmentation is an essential skill for any machine learning practitioner. It’s a simple yet powerful way to enhance your datasets and improve model performance. By following the steps outlined in this guide, you’ll be well-equipped to apply augmentation to your own projects.
Start small, experiment with different transformations, and watch your models improve!
Feel free to share your results or ask questions in the comments. Happy coding!
Head of Translational Rare Diseases & Neurosciences
3 个月Thanks Davis - great post